


Cutting moldings on wooden rafters and crossbeams with a jigsaw doesn’t seem like the best idea at first. But you’ll be surprised. Clearly, the first thing that comes to mind is that the vertical cut of the jigsaw will come out crooked and the molding will not look good or pretty.
There are 2 videos in this post. In the first one, I just cut the moldings on the crossbeam while commenting on the work. In the second one, there are no comments, but I show how I drew 3 of the moldings on the end of the rafter.
But thanks to my woodworking jig with bearings, the jigsaw blade cuts without deviating vertically. The result is that I managed to cut almost perfect moldings that only need a bit of sanding. Okay, and a minimum of work with the chisel and the rasp.

We must keep in mind that the beams are usually thicker wood than the crossbeam shown in the video, so if we are going to use a jig with bearings, we must first check that the wood fits between the base of the jig and the bearings. To be honest, for thick beams, this is not the best system for cutting pigeon breast moldings.

Designing and Drawing the Moldings on the Crossbeams
Here is a video in which we see how I designed and drew three of the moldings on the end of a wooden crossbeam. We see how I draw the shapes on a crossbeam with specific measurements. Everything would be adapted to other measurements.


We must keep in mind that if it is for a beam, these are usually wider and we may need to lengthen the shape we draw to make it look good. But it should be noted that, due to the bearing support, the jig with bearings will have a maximum thickness of wood that it can cut.

Tools Needed to Cut the Shape on the Beams
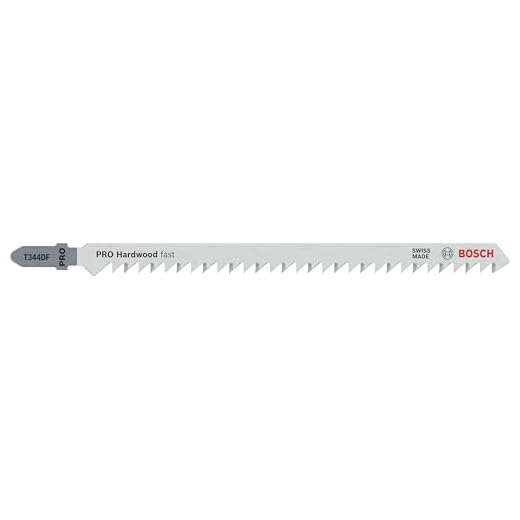
To carry out this process, it is essential to have a good jigsaw and a jig with bearings like the ones I show on this website. The choice of the cutting blade is also crucial. It is recommended to use a long, high-quality cutting blade to ensure it holds up well and makes a clean cut in the wood.
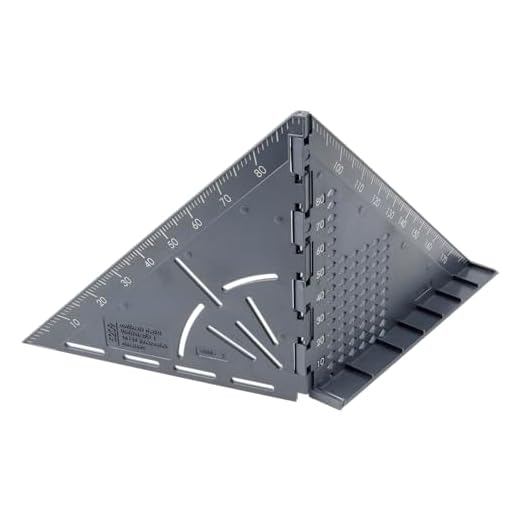
It’s also useful to have a ruler or a square (like the 3D one we saw earlier), a pencil for marking, sandpaper of different grits, a sharp chisel for touching up the inner corners of the moldings, and a rasp for touching up curved cuts. These additional tools will allow us to make fine adjustments and give a perfect finish to our moldings.
Tips and Tricks for a Better Molding Cut
It is advisable to do some preliminary tests to get familiar with how to make the cut with this jigsaw jig. Although it has a methacrylate base, the reality is that we cannot directly see where the blade is cutting in the wood at every moment. But we can see in the image that we can guide ourselves by leaving the cutting line coming out along the side of the groove for the blade in the methacrylate.

Looking at the image, we see how I have the cutting line right next to the blade. And now we are going to focus on how the cutting line behaves in front of the blade. If the line separates from the groove, as it is in this case, I know I have to turn the jigsaw to the right. And if, on the contrary, I see that the cutting line is hiding under the groove, then I will have to turn the cut to the left.
It is not easy to achieve a perfect cut just next to the line, but it is not super important to be that precise when making these pigeon breast moldings, or another type of molding, on wooden beams and crossbeams. A good approximation to the cutting line and a perfectly vertical cut at 90 degrees will allow us to make perfect and very beautiful moldings for the beams of the pergola or other wooden structures.
- Firm clamping: We must ensure that the crossbeam to be cut is well secured to the workbench. A couple of good clamps and a stable workbench will allow us to cut more safely, comfortably, and precisely.
- Appropriate speed: The jigsaw usually has different cutting speeds. For harder woods, a lower speed is usually used, and for softer woods, it can be increased. But the truth is that the DIY jigsaw I use, although it is of very good quality, does not have that speed change feature.
- Smooth movements: I try to move the jigsaw with smooth and continuous movements. This allows me to better follow the cutting line that I see next to the jigsaw blade. I also avoid rushing the cut so that the blade does not overheat and burn the wood. Although we see in the video that I did burn the wood a bit when making the tighter curve cuts. I should have stopped from time to time to let the blade cool down.
- Avoid overcuts: I don’t know if calling them overcuts is appropriate. I mean that when we are cutting and reach an inside corner, it is advisable to stop a little before reaching it. If we cut beyond the line, the error can only be corrected by filling it with wood putty. On the other hand, if we stop before, we will only have to touch up the corner by removing a small, thin strip of wood with a chisel that will be left uncut. In the video, you can see that strip, and we get an idea of how easy it would be to remove it with the chisel to leave the corner of the molding perfect.
- Do preliminary tests: But the problem with stopping is that when resuming the cut, it may cause a small step, making the cutting surface not as smooth and harder to sand. Ideally, do preliminary tests, stopping to cool the blade and see how the cuts turn out. And from there, decide whether to cut the moldings in one go or stop to cool the blade. Again, remember that if we can lower the cutting speed of the jigsaw, the blade will not heat up as much, and we avoid burning the wood in the curves.
Finishing the Moldings on the Crossbeams
Once the moldings are cut, we can sand a bit to smooth out imperfections and give a more professional finish. And a touch-up with the chisel on the inner corners is probably necessary.
In some cases, it may be necessary to touch up some curves with a fine rasp. And for some curves, a touch-up with a sanding drum may be necessary (I made a homemade sanding drum that works great on the drill press). It all depends on how careful we were when cutting the moldings and the quality of the cutting blade we used.
I am still surprised by the work I can do with this woodworking jig, and I didn’t expect to be able to make such good moldings on the ends of these crossbeams. Now I should increase the thickness it can cut and try it on some good wooden beams 😀.